Premium
1999 MOLOTOW™ PREMIUM, the first street art optimized spray can worldwide, was launched – developed with artists for artists. Its unique handling and its extraordinary paint quality still make it the most reliable painting tool for street artist all over the world.
Discover the world’s most comprehensive spray-paint color-range with 275 colors – including neon and transparent colors!
MAIN FEATURES
- highly pigmented formula
- highly opaque or transparent
- highest UV- and weather resistance (exception: neon shades)
- quick-drying and adhesive
- for nearly all surfaces
- patented MOLOTOW™ technology: anti-drip™, no-dust™, covers-all™, all-season™ (-10°C until +50°C)
- perfectly suitable for airbrush
- Made in Germany
MR.CENZ – MOLOTOW™ PREMIUM
LOVEPUSHER’s 3D technique

STEP 1
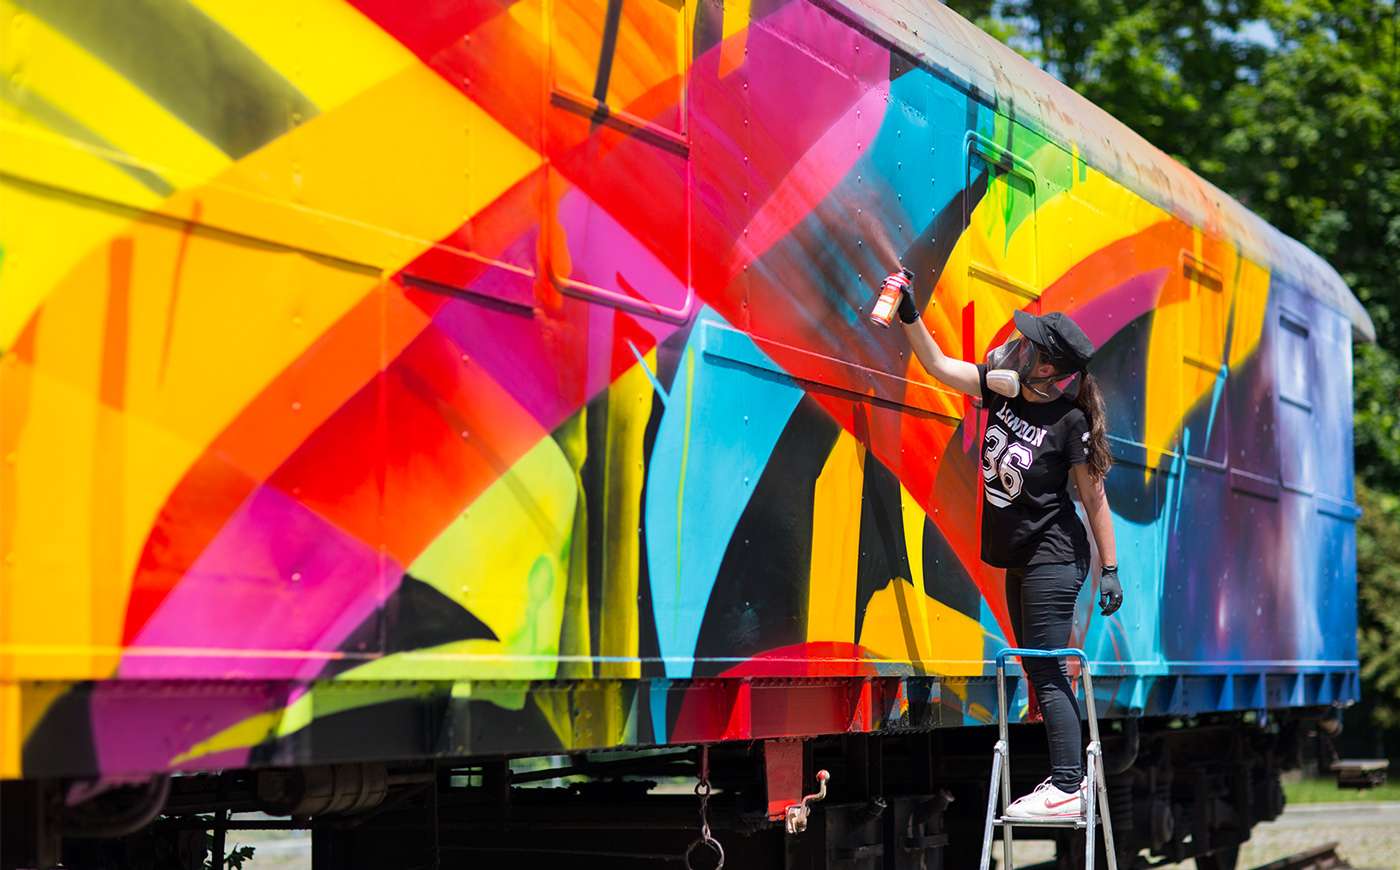
Once you have your concept sketch down on paper, ensure you have the best quality spray paint to make your graffiti concept a reality (MOLOTOW™ Premium). Also ensure you have a good degree of protection from spray paint fumes in the form of a full or half faced gas mask; this will allow you to paint with a high degree of focus without the adverse effects of spray paint gases.
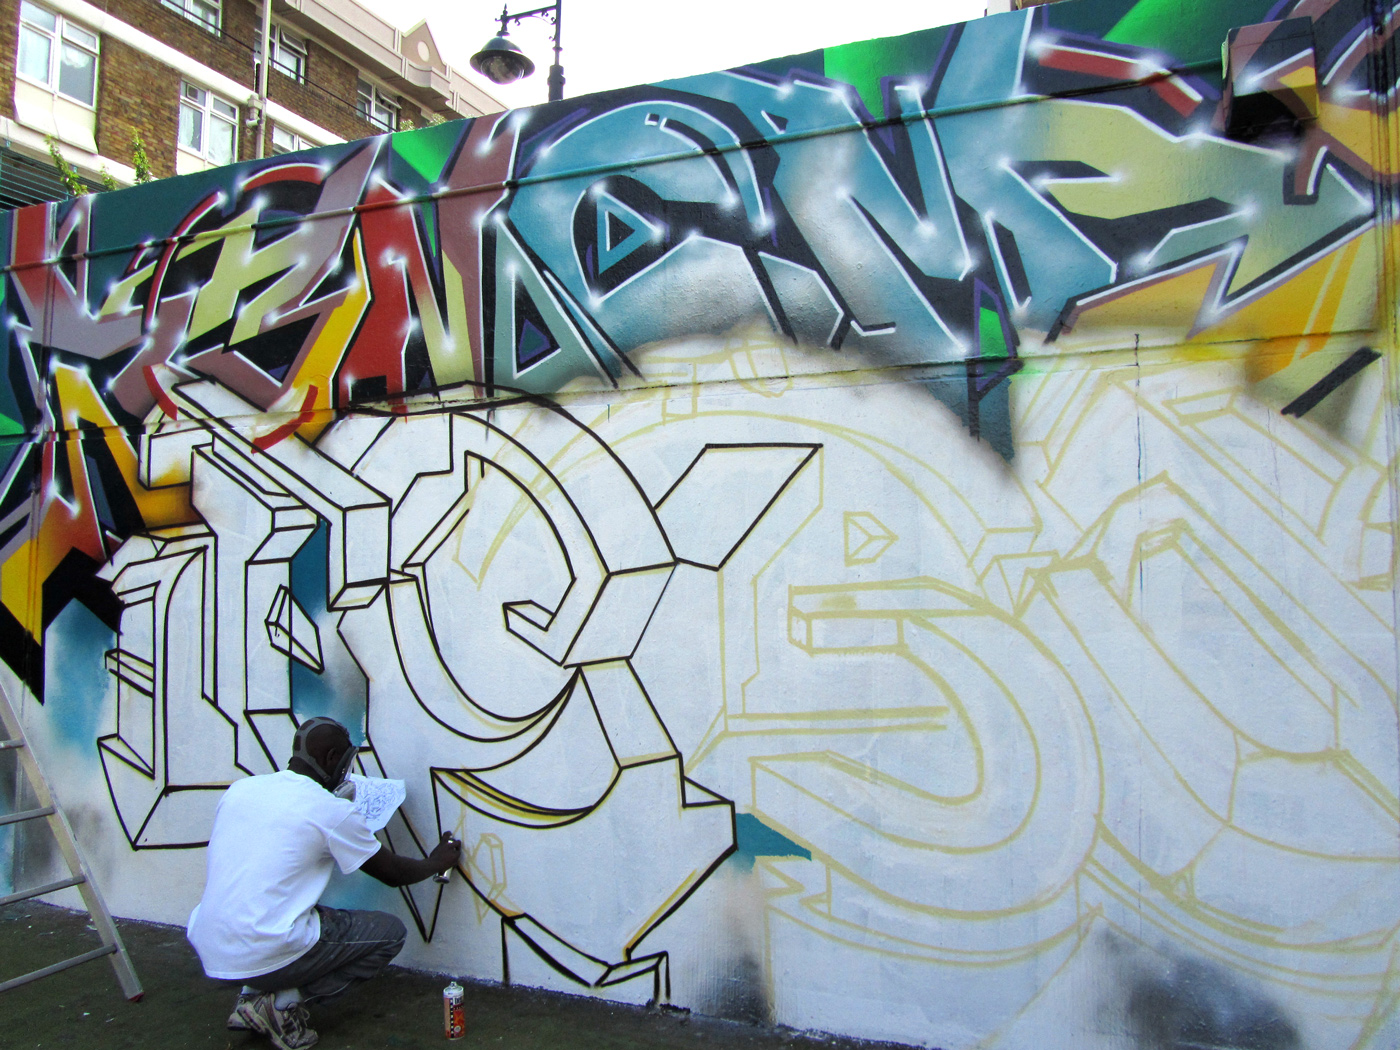
STEP 2
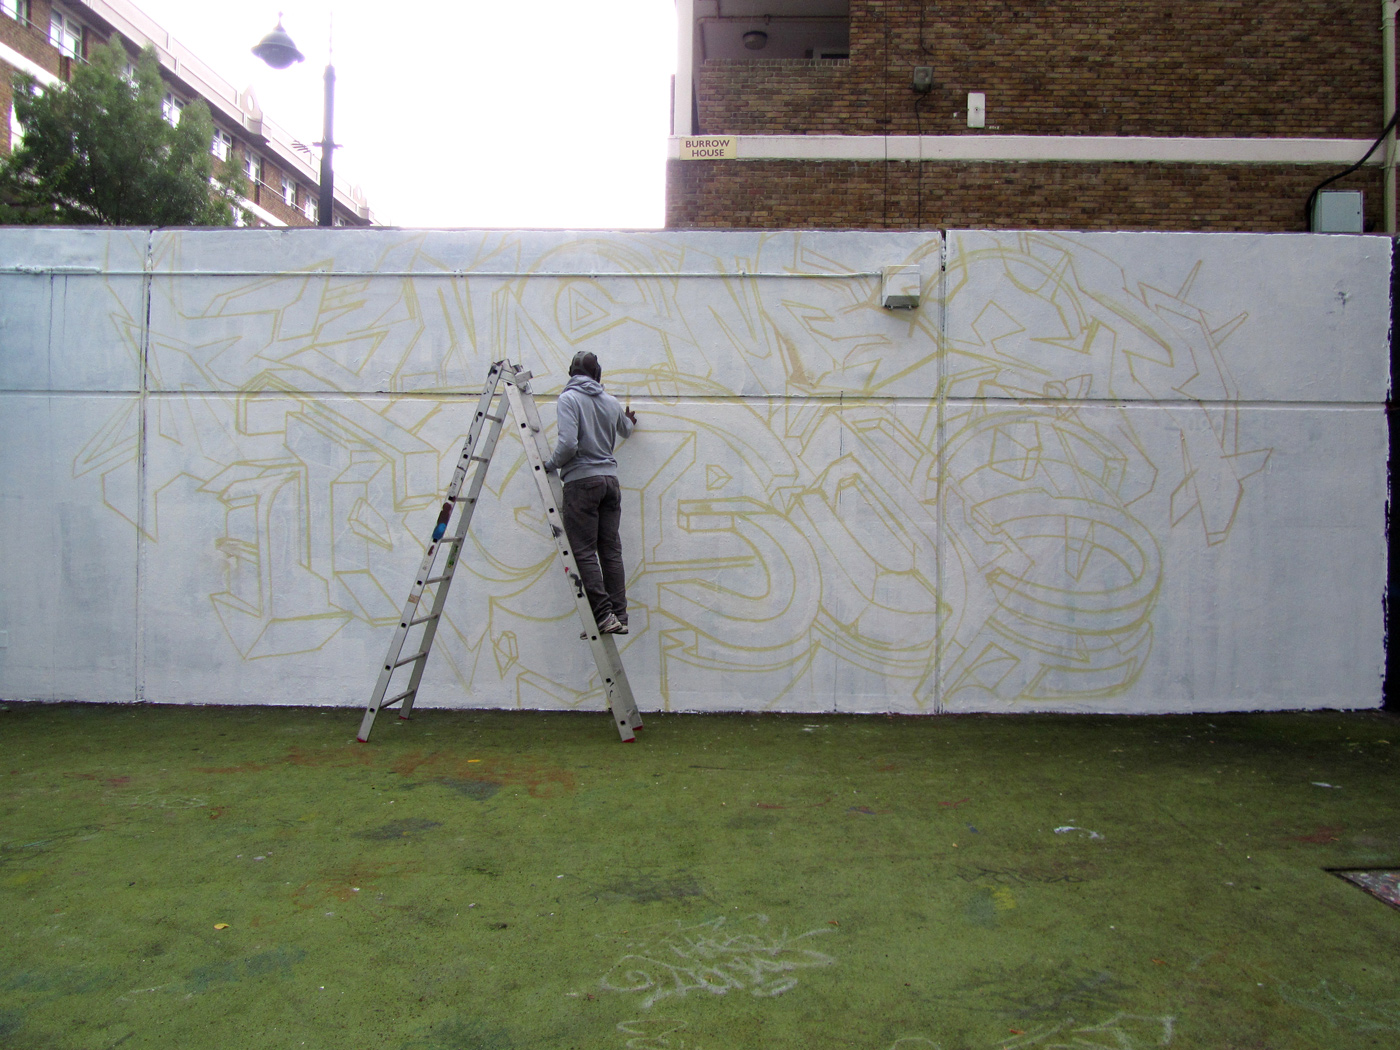
Prepare the wall to be painted with the correct type of emulsion. Remember to use masonry paint for outdoors. Once the wall is prepped you can begin to transfer your sketch to the wall. The first sketch may be slightly rough, but don’t worry as it only acts as a guideline for the 3D piece positioning and overall composition of the wall.

STEP 3
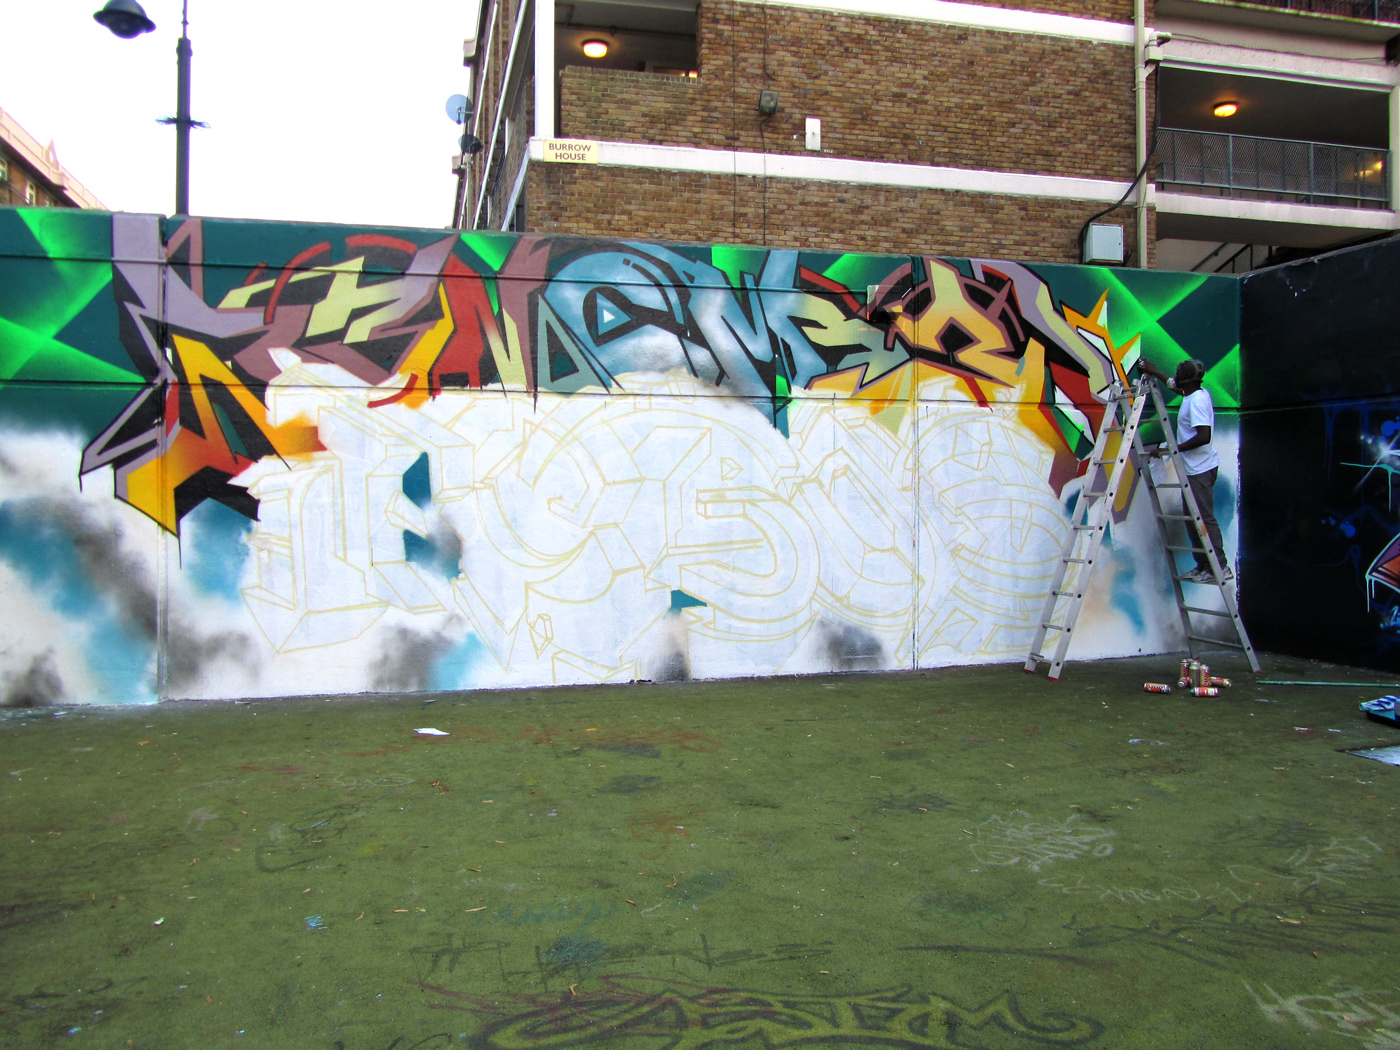
Begin working on the background. Working from background to foreground is an old technique from the Renaissance masters. You’ll find that it’s a more natural way to approach painting a picture. While you’re creating the background, try to conserve small amounts of background colors as these will be used for any final touch ups and corrections at the end.
STEP 4
Once the background is complete, retrace the 3D outline using a darker color to define the lines. For this I would recommend either using “#022 LOOMIT’s aubergine“ or “#209 CMP dark brown”. With the 3D outline complete you should now have a solid frame that will strategically allow you to apply varying tones to bring the 3D form to life.
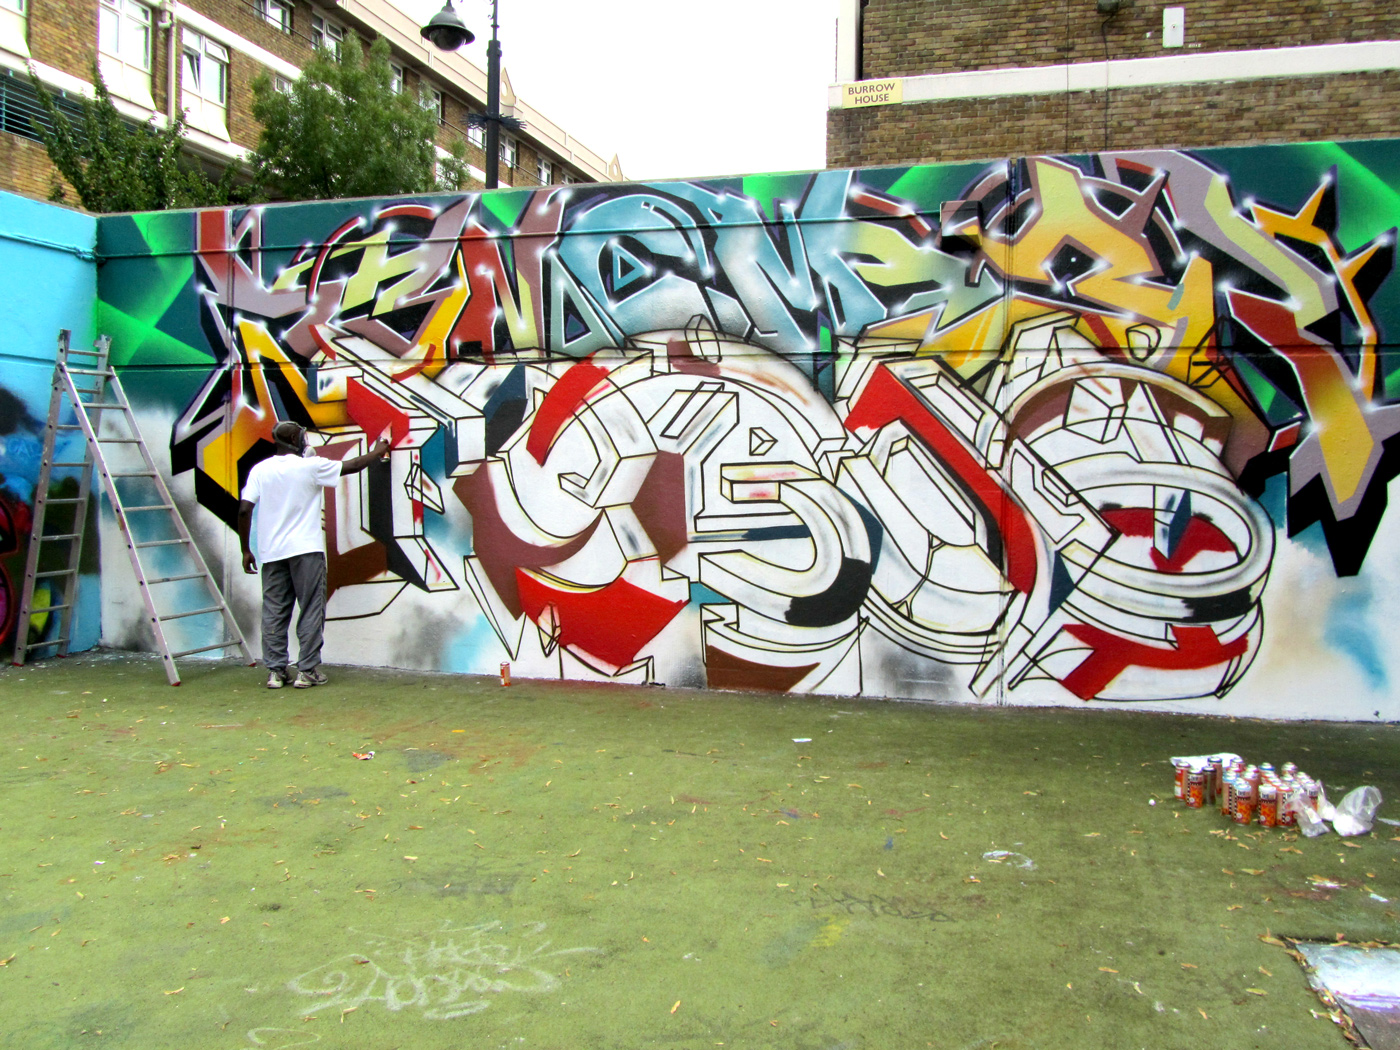
STEP 5
Begin laying down the first set of dark tones in relation to light source. As you are filling in big spaces with solid color I would recommend using the MOLOTOW™ 9005 SuperFat cap white / pink. When filling in these main areas try to stay within the boundaries of the frame and use it as a barrier to stop you from going over into the background. Use the “three level setting system” to guarantee full control of the fat cap.
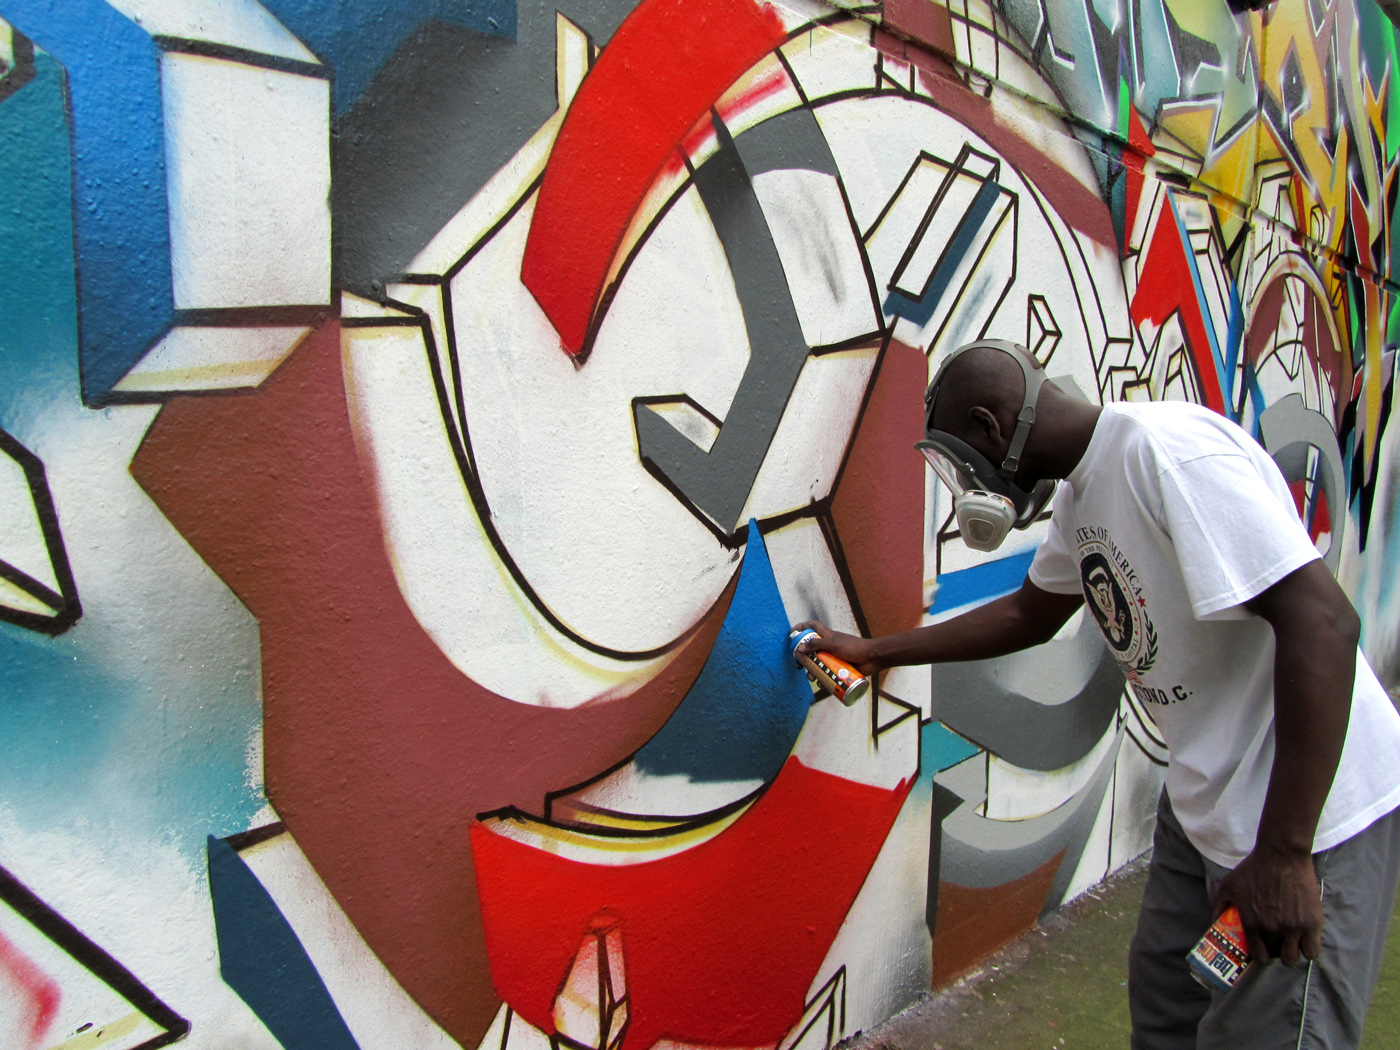
With most of the dark tones down, you’ll begin to see the key positions of extreme darkness and light. You can now start introducing the mid to light tones and watch as the 3D letters begin to fully take shape and create the illusion of coming out of the wall. Remember when fading colors to go for the option of a soft smooth cap (MOLOTOW™ 9009 or 9010) and blend from dark to light as this creates a smooth gradient and is much easier on the eye

STEP 6
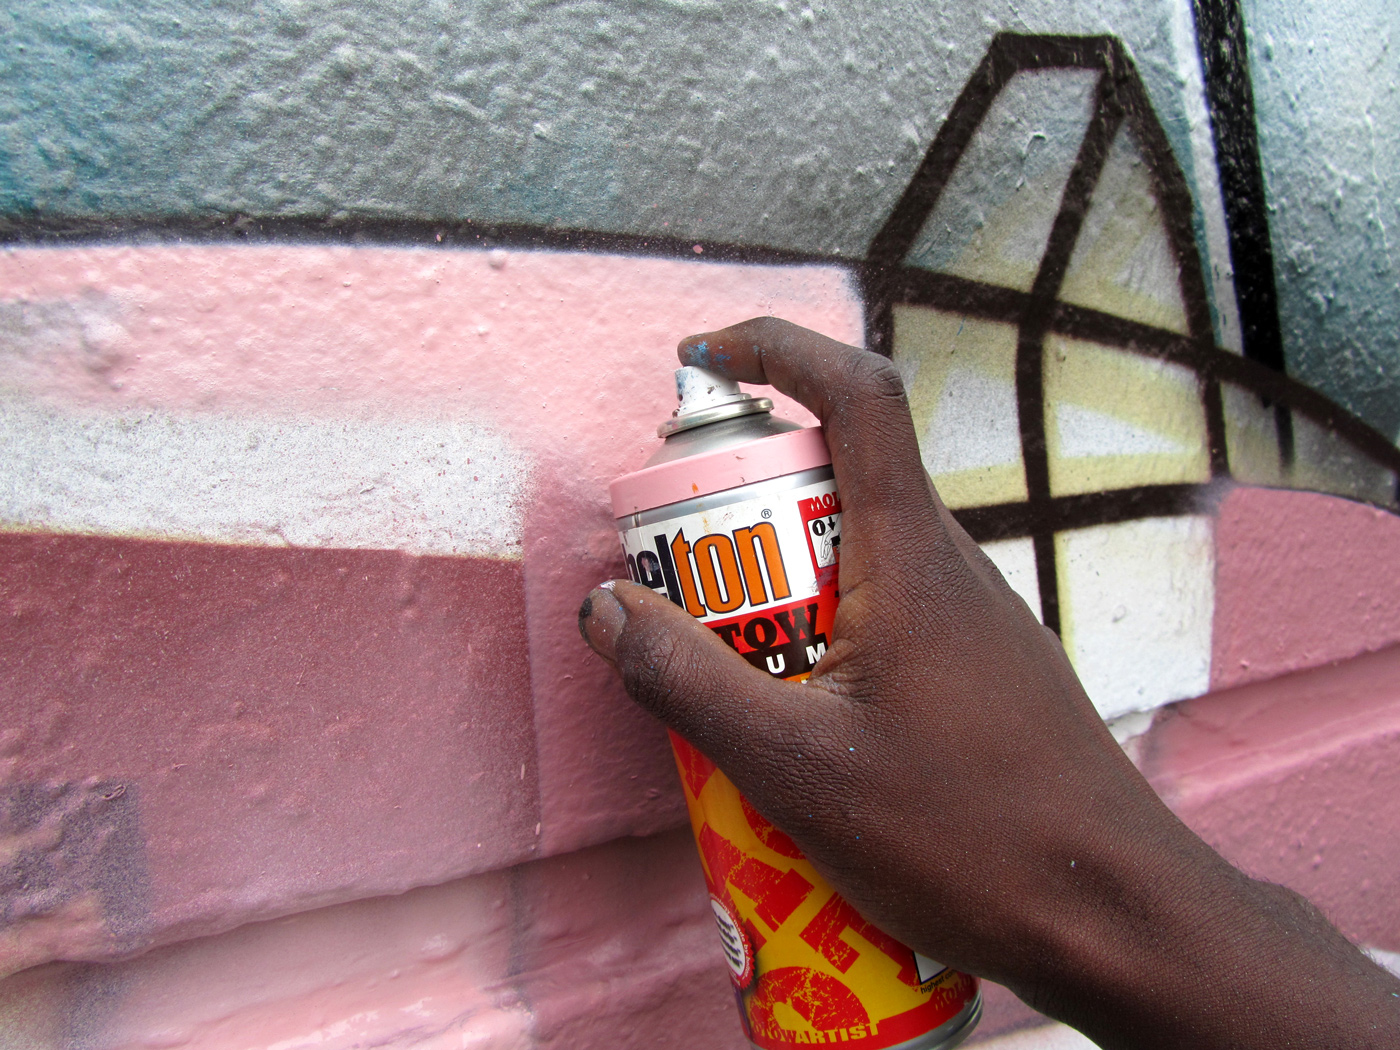
With the 3D piece almost complete, start to work on the small areas and sections of high detail. As this work is slightly more delicate, opt for the MOLOTOW™ 9002 SuperSkinny cap for precise spray paint application.
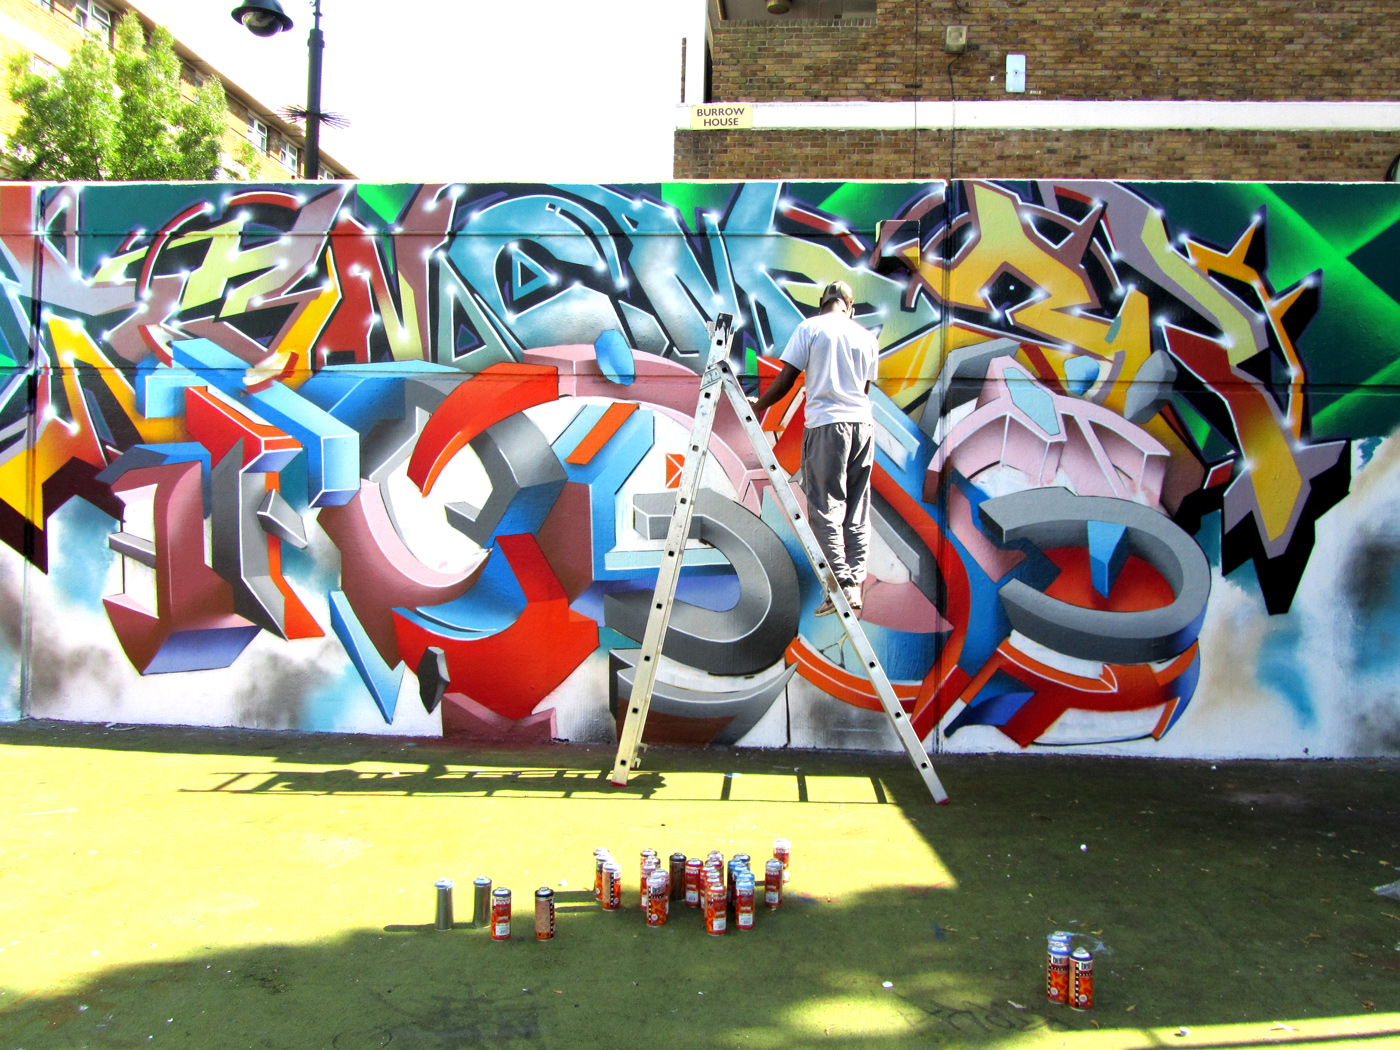
Once the 3D piece is finished, use the background spray paint to cut around the 3D form removing any unwanted mistakes or overspray as well as making any necessary touch ups. This small attention to detail will make a massive difference in the overall sharpness and visual quality of the piece.
Done!