


AQUA PUMP SOFTLINER
THE NEW WAY OF WATERCOLORING
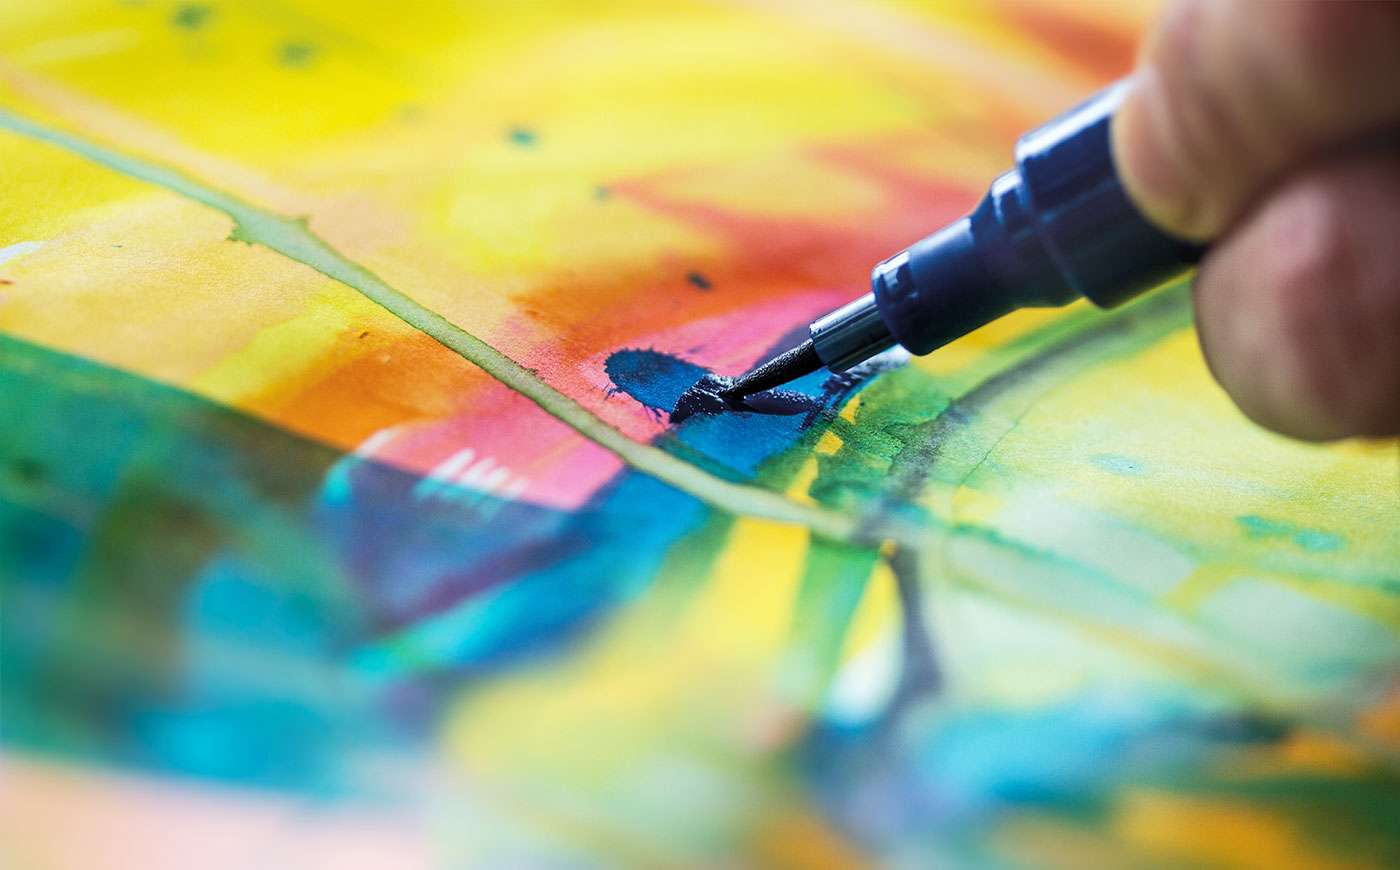
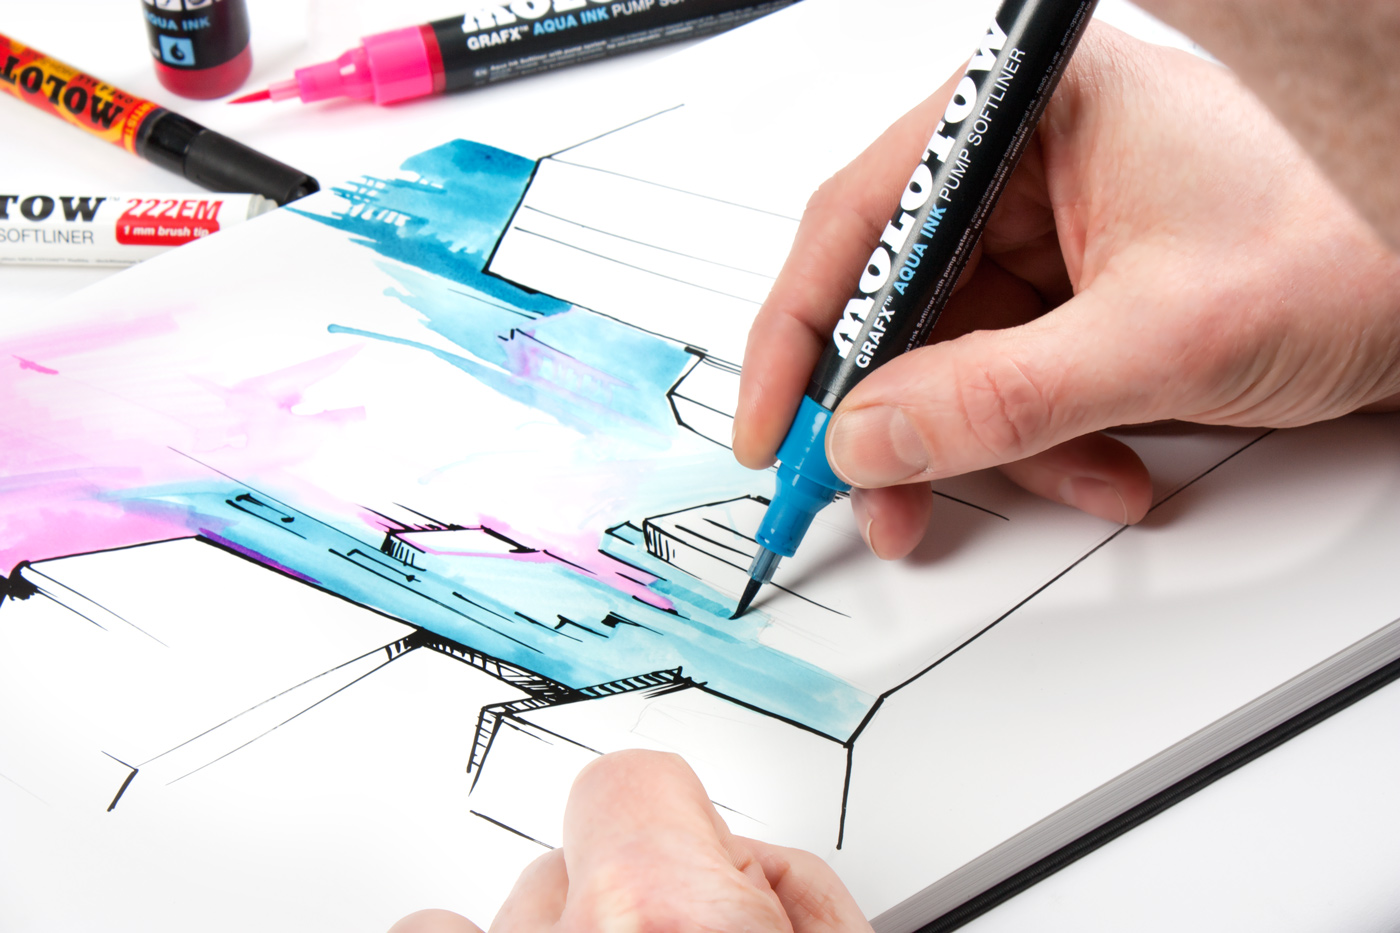
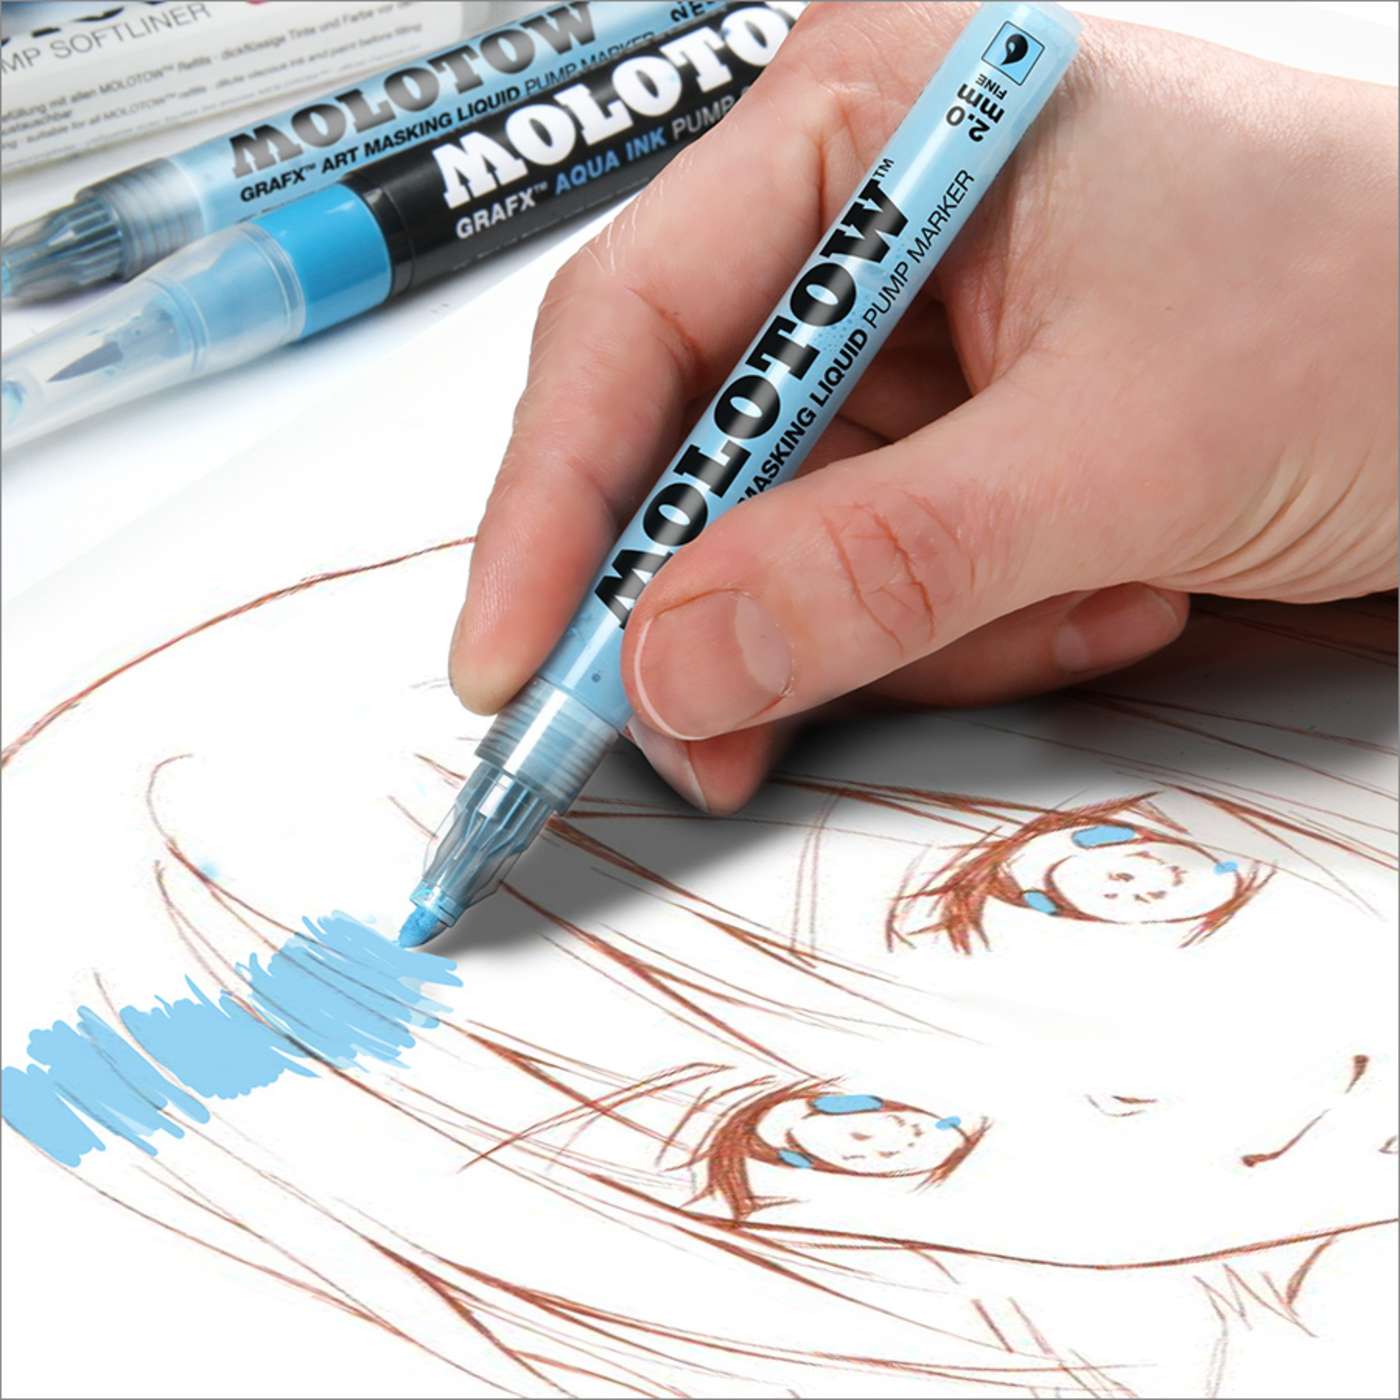
The first ready-to-use AQUA PUMP SOFTLINER is filled with water-based special ink. Due to its versatility it is an allrounder in the design-, graphics- and art sector. Ideal for all watercolor and coloring applications.
The double patented marker technology MADE IN GERMANY allows the exchange of the brush tip, easy mixing and clean refilling of the ink. The intensive inks are food-safe and for that reason harmless to children.
- precise illustrating and water coloring
- blending and brightening with water
MAIN FEATURES
- water-based
- color-intensive ink
- transparent
- good UV resistance with sealing,
e.g. ONE4ALL UV-varnish - odorless
- ink: food-based colorants for children’s use approved (EN 71-3:2013, ASTM D-4236)
- for indoor use
- 12 colors shades (refills in 24 color shades)
- 1 mm soft brush for precise and energetic strokes
- refillable
- exchangeable tips
- mixable
- Made in Germany
Video Tutorial – Aqua Ink & Marker Techniques
Step by step to your own manga

STEP 1
Sketch your manga character with a pencil. Pay attention to the classical characteristics e.g. big eyes and a pointed chin.
STEP 2
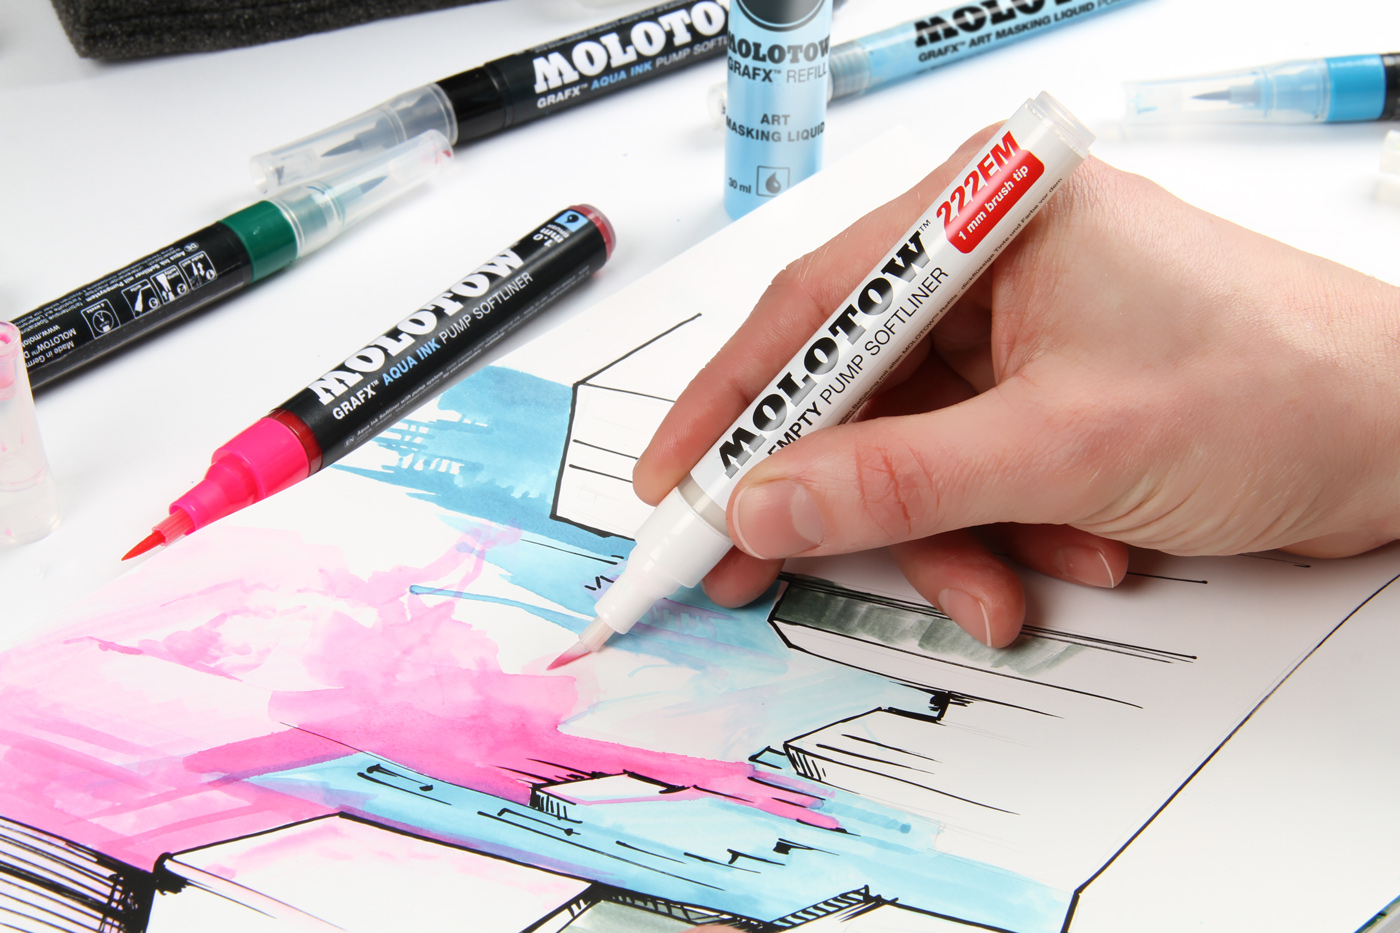
Start coloring the skin parts. Therefore, mix your own skin color shade using AQUA INK Refills and fill the ink into a 222EM empty marker with Brush tip.
Decide where the incidence of light should come from. Leave the parts, where the light directly falls on blank. Mind that the color becomes more intense, when you paint over the same part for several times. The shadings are being prepared in the same step. The shadows are placed in the end.
STEP 3
Before you start coloring the hair, spare a white arc in the area of the forehead. This arc later imitates a light reflection. This is easily made with the MASKING LIQUID. The ready to use masking liquid can later be peeled off without residues.

STEP 4
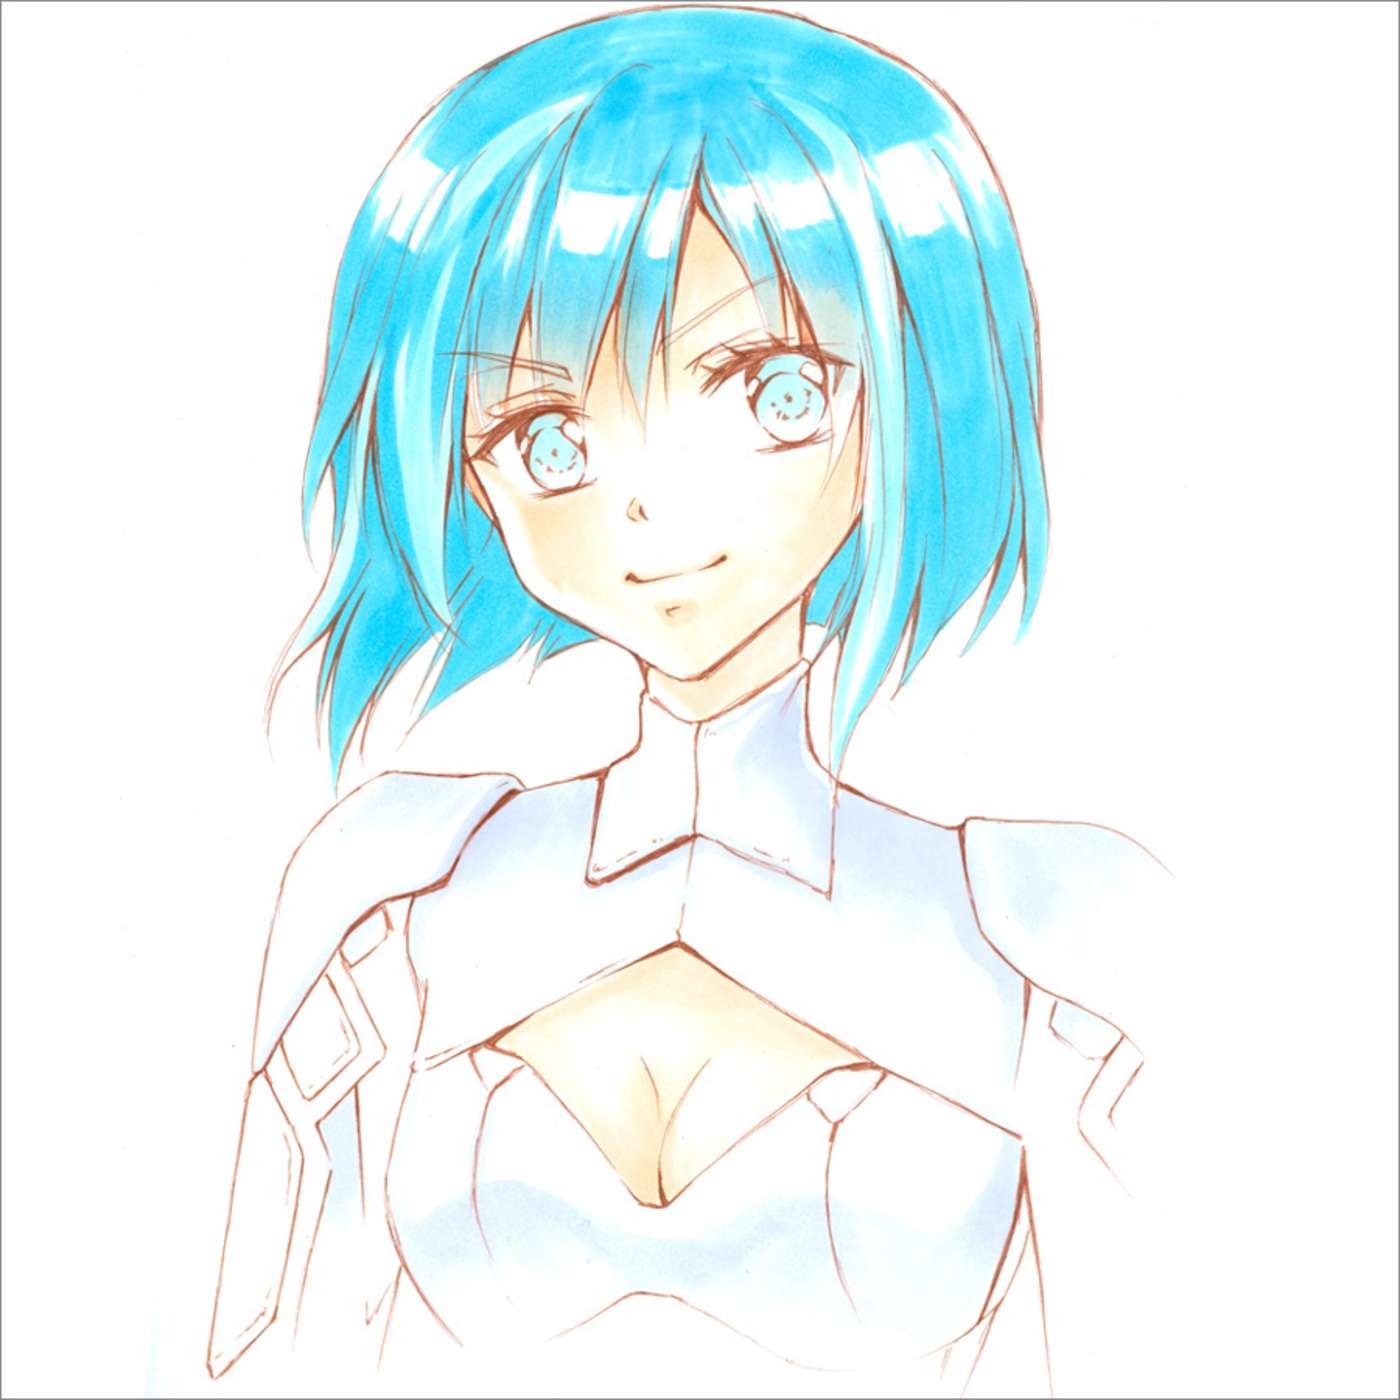
Now choose a color for the top hair (e.g. dark blue in the ready to use AQUA INK Pump Softliner), but first use a shade that is 3-4 nuances lighter as primer. This gives your character a lively charisma.
Tip: Blending of the color is made particularly easy with the BLENDER PRO Aqua Medium.
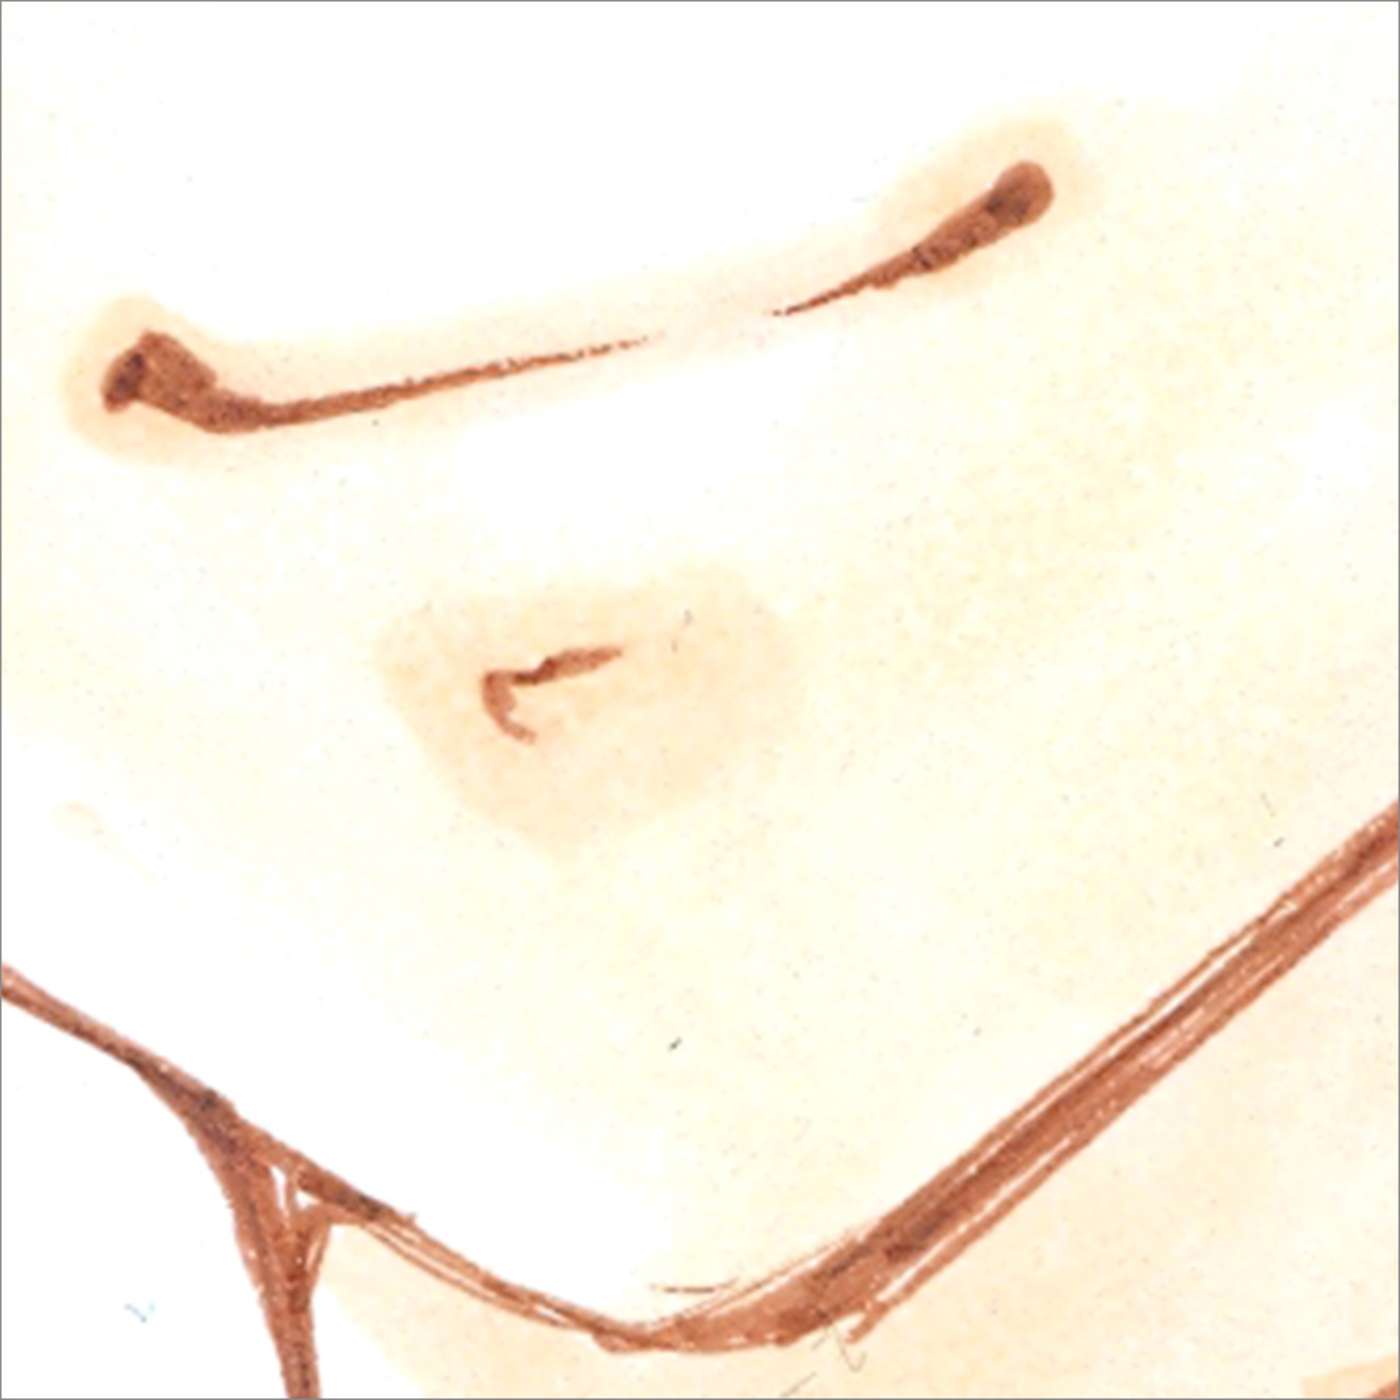
Now paint the eyes. For this purpose, use the light color shade of step 3. Leave reflection points in the eye blank (MASKING LIQUID). For a soft gradation slightly paint over the edges of the iris area.
STEP 5
At last you pay attention to the clothes. You should take your time to think over the light incidence and the evolving shades. Set accents in a light color shade (here: light blue).
STEP 6
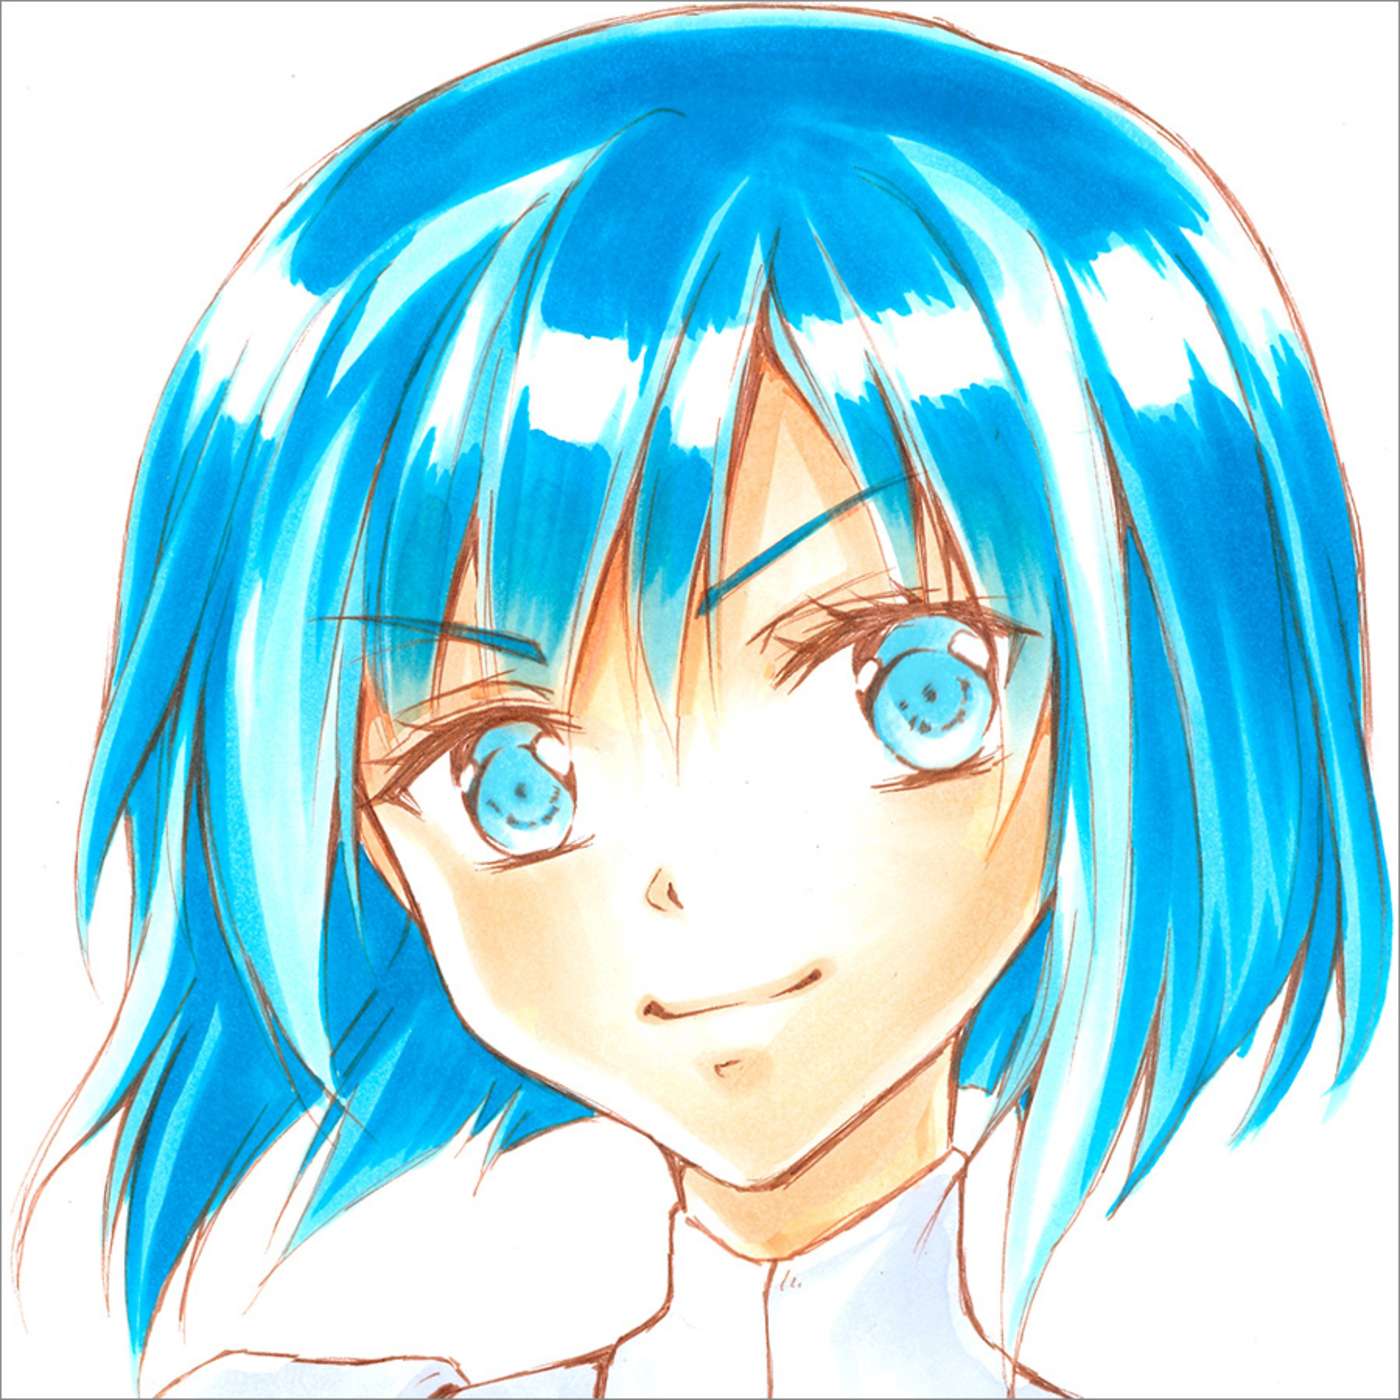
You are now ready for the darker shades. Accentuate the shades of hair on the skin with a light pink. Further shades can be found on neck and décolleté.

STEP 7
Then finish coloring the hair. Use the color shade of the top hair, defined in step 3. Color the inner part of each strand and leave a light edge.
Tip: Vary the width of the strands, this provides a particularly natural look.
STEP 8
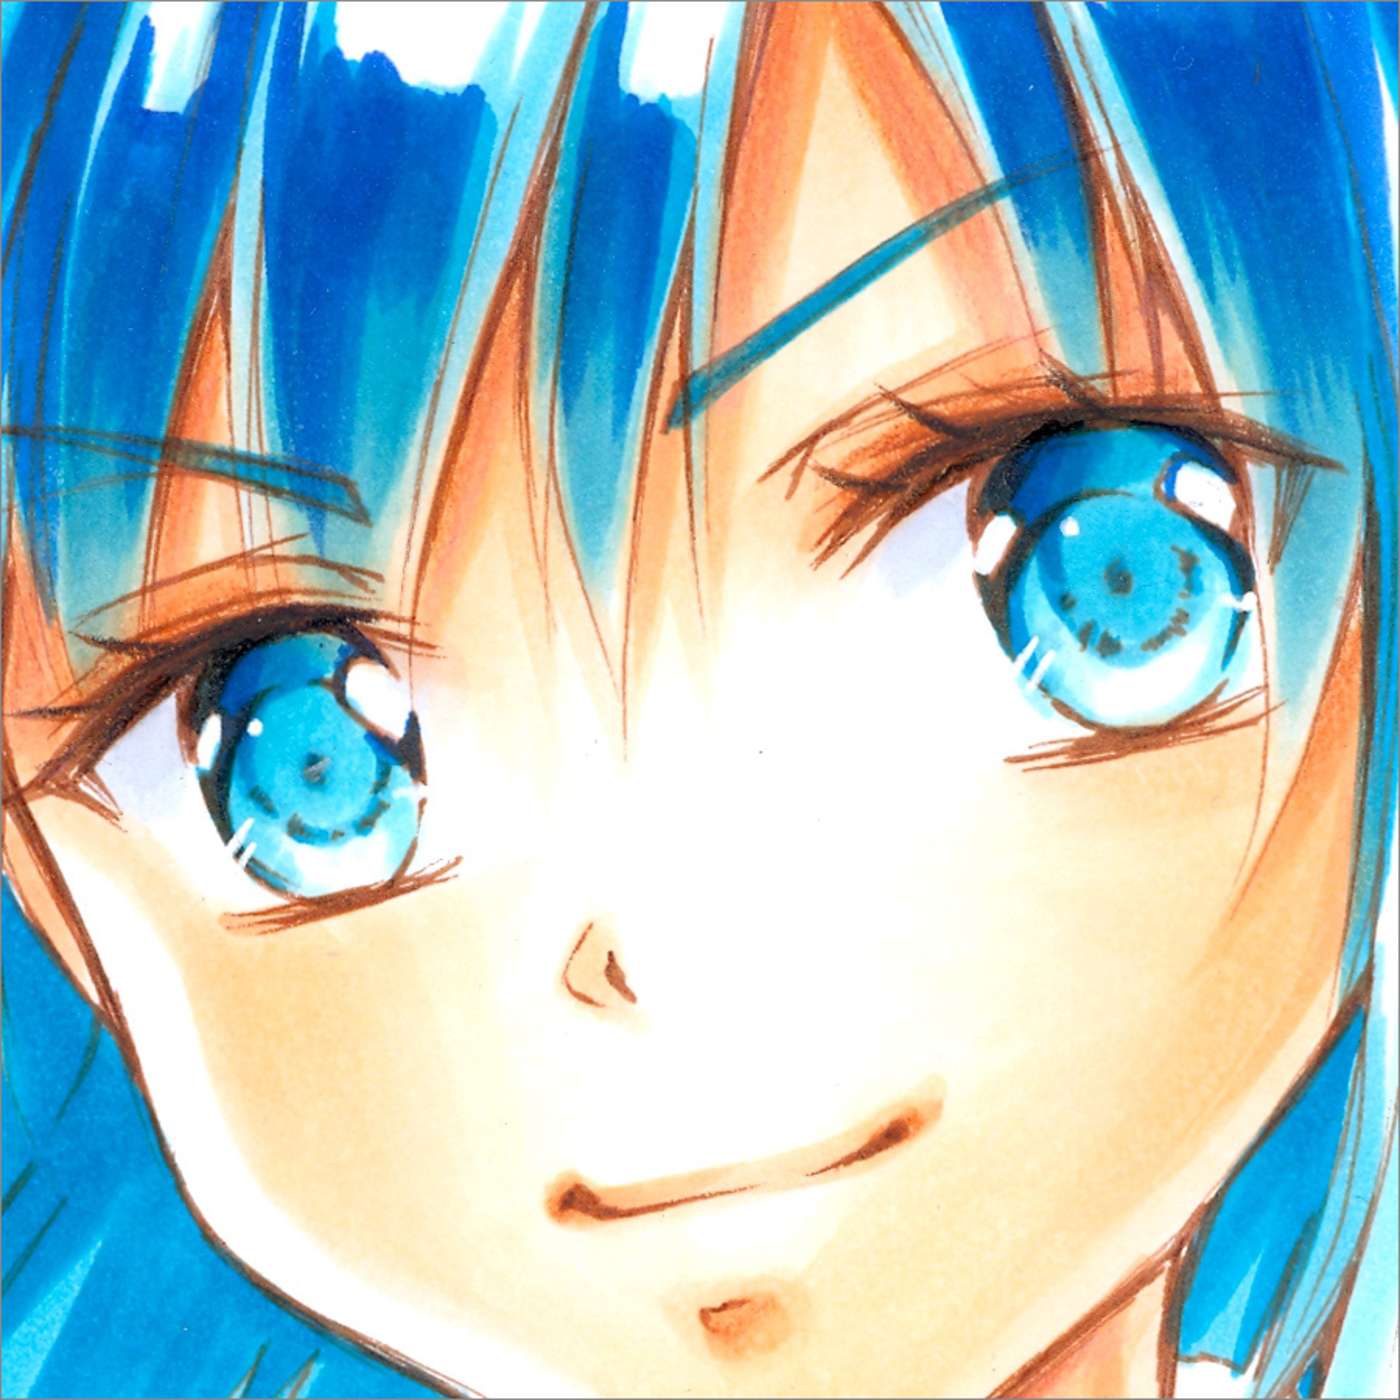
You now need the darker top hair color shade for finishing the eyes. Paint a contrast in the top of the inner eye. The soft gradation makes the eyes shine. Use the light color gradient for the shade in the white area – but only very little.
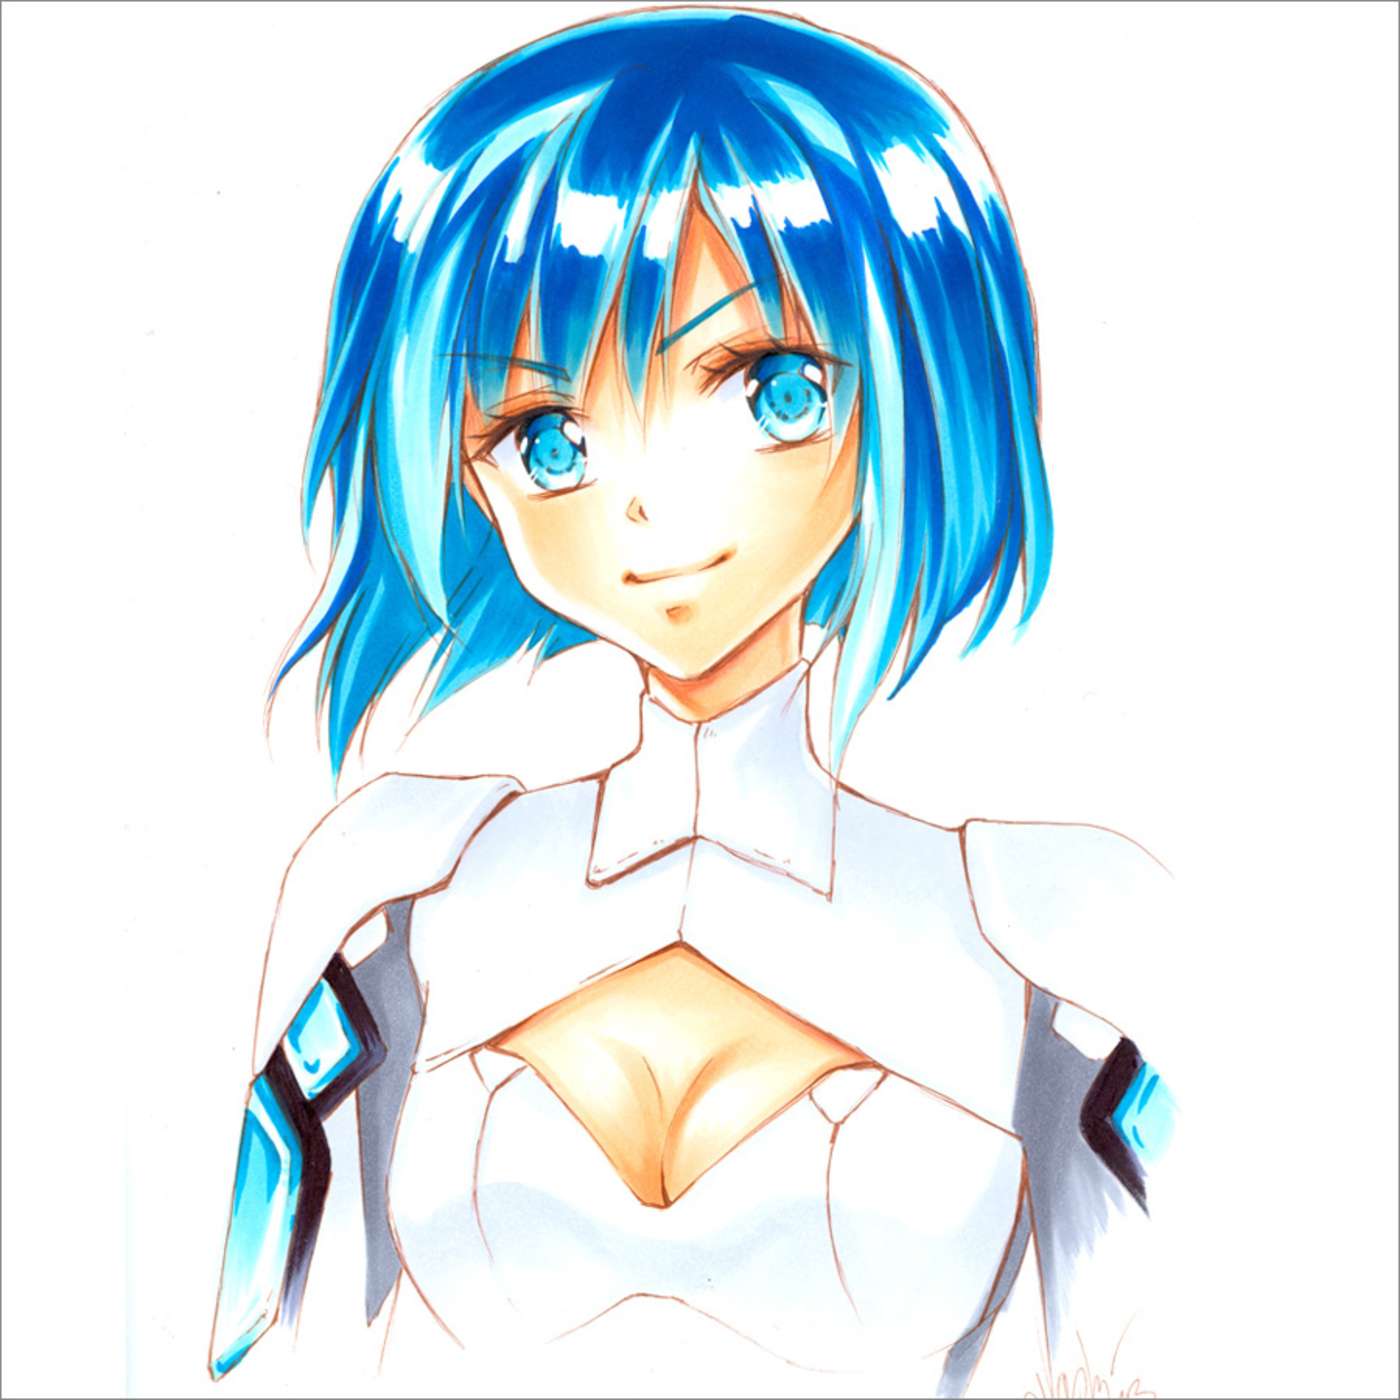
STEP 9
In the last step, shade all primed areas with a darker color. The contrast makes your manga appear more plastic. Done!